
Long stitch book binding method has existed for many centuries. It is a non-adhesive method for bindings books, ie, you don’t need to use any glue to do this binding. And it looks extremely pretty! This binding is visible on the spine, and I personally love spending time on the spine. The spine is the portion of the book that’s visible on your bookshelf, and a beautiful spine really stands out!

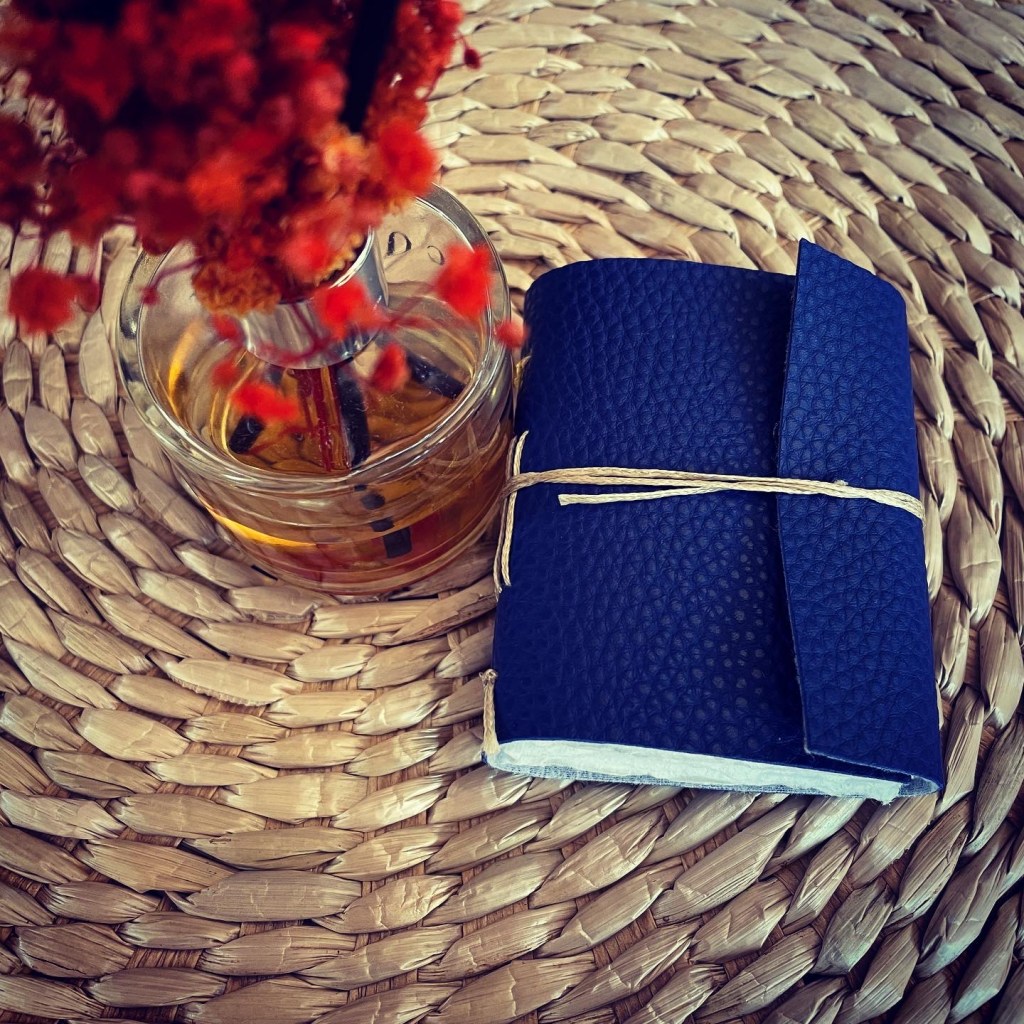
Here’s the miniature faux leather journal that I made this weekend.
Long-stitch binding, used in combination with a chain stitch, may have existed as early as in the 1300s! Quoting from Wikipedia – “This particular sewing method is very old and originated in Germany as early as the medieval era. In Szirmai’s text, The Archaeology of medieval bookbinding, the author describes this method of bookbinding being used on parchment-covered books with reinforced spines between 1375 and 1500. The sections were sewn directly through holes in the cover material, with two sections being sewn through each row of holes. This allowed the creation of a chain stitch at the first and last sewing stations.“
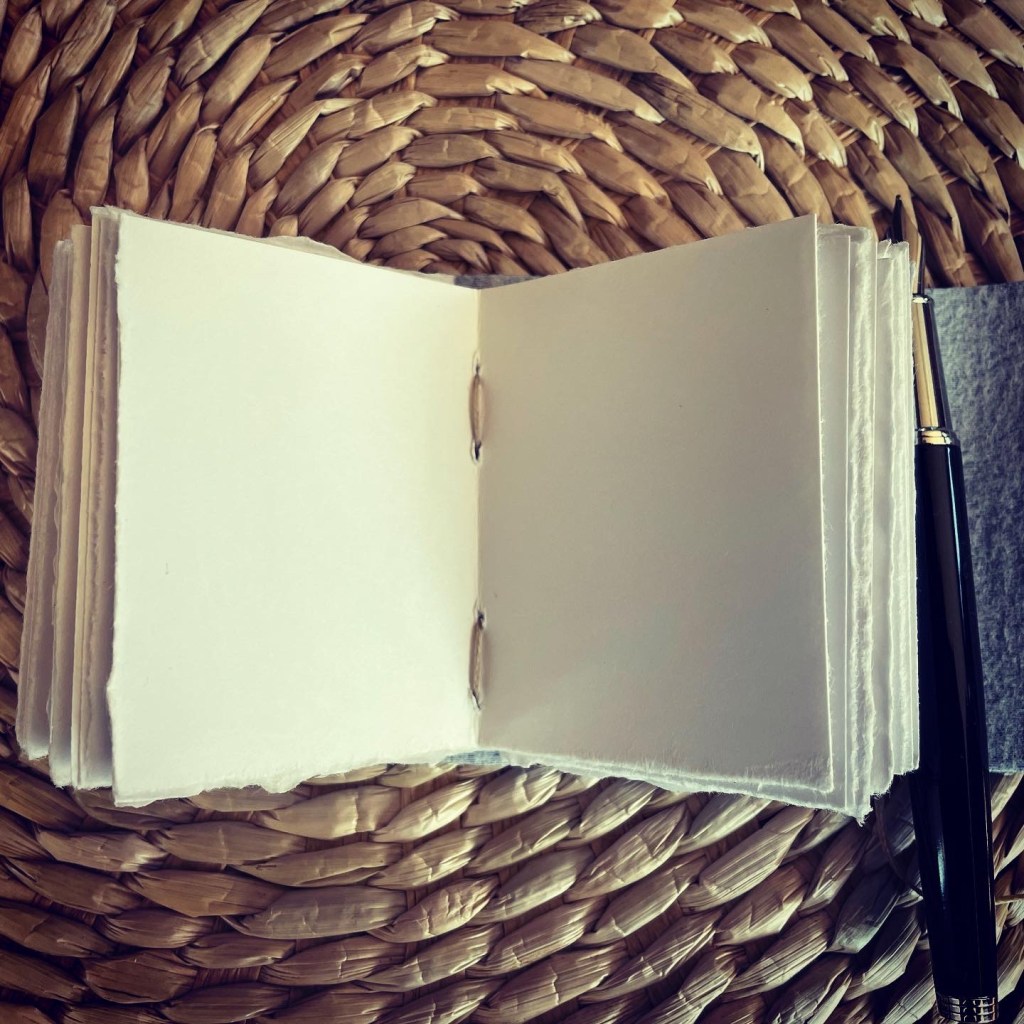
The vertical stitches that you see on the sides are chain stitches.
To do long stitch binding, all that you need is the following:
- Paper
- Thread (preferably waxed)
- Needle
- Cover for you book (I used faux blue leather)
That’s it.
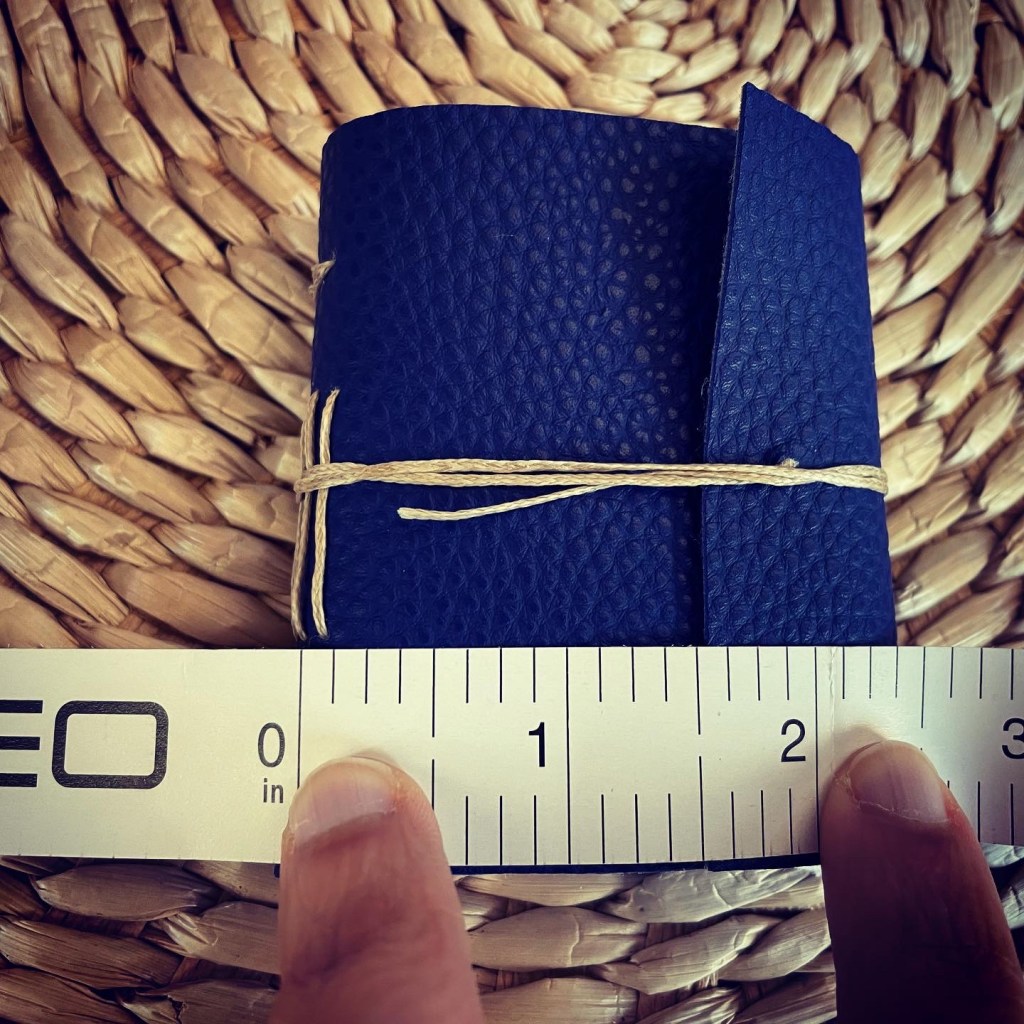
To make sure your book qualifies as miniature, make sure your signatures are no more than 3 inches in length and width. That’s the standard definition of miniature books per Wikipedia (you can make miniatures using other binding methods too, such as this example using case binding method). Simply keep folding your paper into more and more halves till you get to the desired dimensions. It’s tremendously fun to make miniature books!
To sew the cover and signatures together using long stitch binding, I followed this tutorial by Sea Lemon. I find Sea Lemon’s tutorials for book binding fairly thorough and helpful.
I decided to cut my cover a few inches more than the width of the book board, so that I could wrap it over the book. I felt it would look kinda cool to have a miniature book styled this way 🙂
The next thing I had to then figure out is how to provide a way to keep the cover of the journal closed. How would a user open and close it? I could think of two options:
- Add a button on the cover to loop a thread around
- Add a string to wrap around the book a few times to close it
I really liked the idea of a nice little button on the cover of a miniature journal. I spent the majority of my weekend looking for buttons in thrift stores and art supply shops – but I could either not find anything or whatever I found was too expensive (I’m not going to pay $10 for a single button!). I therefore decided to use a string instead (I may still order some vintage buttons online though for future projects).
I really like how this journal has turned out. It looks so gorgeous! It fits in the palm of your hands and would make for a lovely artist sketchbook – small little notebook to doodle in.

Discover more from Sonali Mangal
Subscribe to get the latest posts sent to your email.
Share this:

Categories: Book binding, Idea journal, Make stuff

3 replies »