
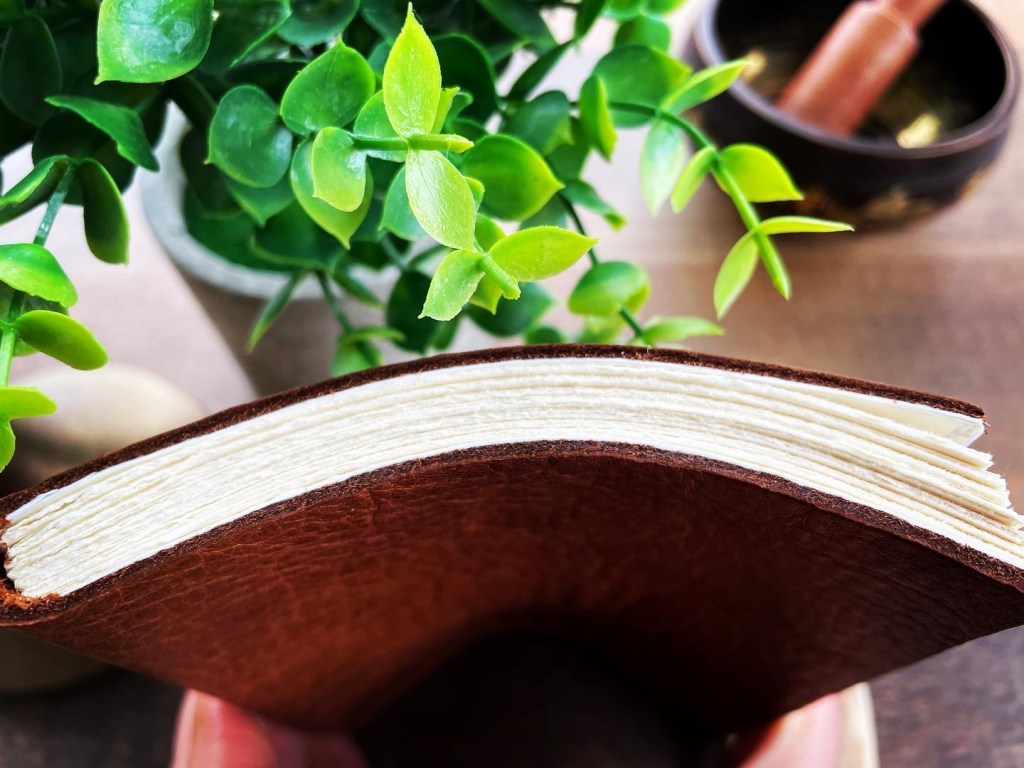
I love making handmade leather journals. One of my favorite methods of binding a journal, is what I call a “soft bound leather journal“. It’s not very hard to make, and produces a binding that works great for writing. By soft bound, I mean that the diary does not have a hard cover on either its front or back, and is therefore quite flexible.

Here are the steps for making a journal like this:
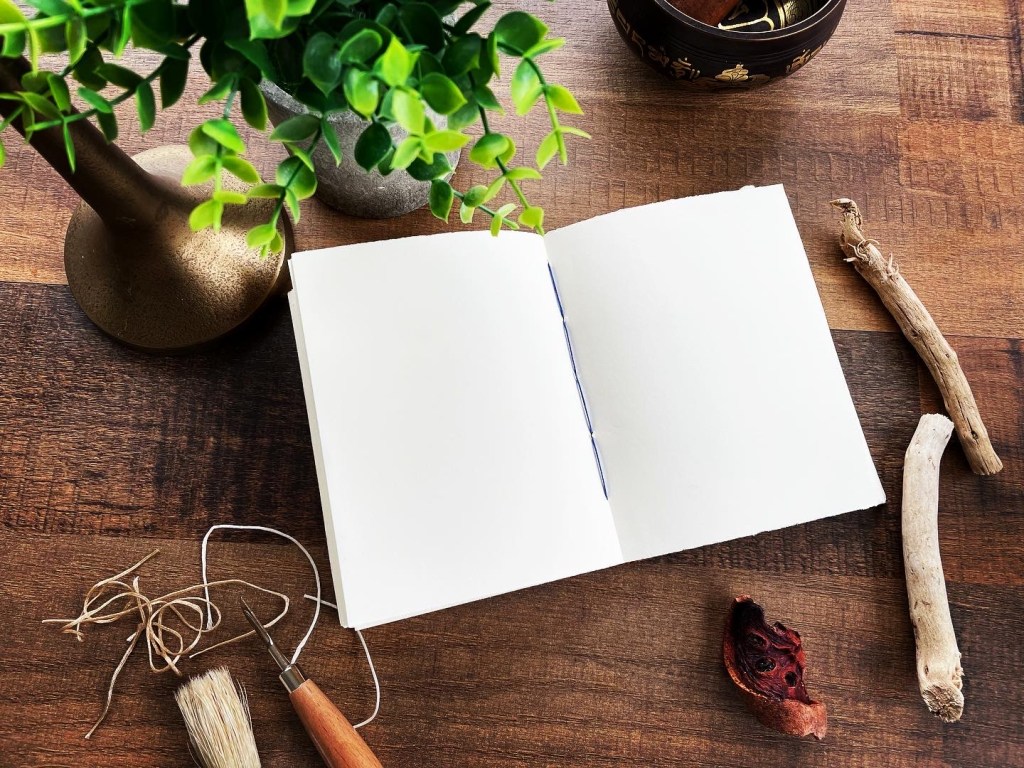
- Fold your paper into signatures, depending upon the size of the journal you’re looking to make. (If you’re new to bookbinding, this post on bookbinding jargon 101 describes what a signature is). For the journal pictured above, I took A4 sized paper, cut it in half, and folded each into half. The size of the journal is roughly 4.5 inches by 5.5 inches. I find that this size works well for a daily journal that’s compact and easy to carry around.
I’ve used parchment paper for this journal. There are 7 signatures in total, or 112 pages in total to write on.
2. Sew your signatures to create a text block. I followed the instructions in this video, to make a text block. This video also talks about attaching end pages and a bookmark to the text block. Both these steps are optional and no needed for our binding.
3. Glue your spine together, and let it dry. This ensures that the text block does not wiggle around. You can follow the instructions in this video, on how to do this. Watch from 2:24 to 3:22.
4. Next, use a small piece of linen cloth as “mull”, to attach to the text block and strengthen it. Some tutorials use paper instead of linen, but I think linen provides much better support and strength to your book, which will help make it last longer. You can follow this video to understand how to attach mull to your text block, from 6:40 to 7:50.
5. Next, find a piece of stiff paper to attach to the front and back of your text block (card stock works great). This step is optional, but I find that it helps add some stiffness to the soft bound journal, since the leather cover itself is a relatively limp material. The size of the stiff paper should be as big as each side of the text block.
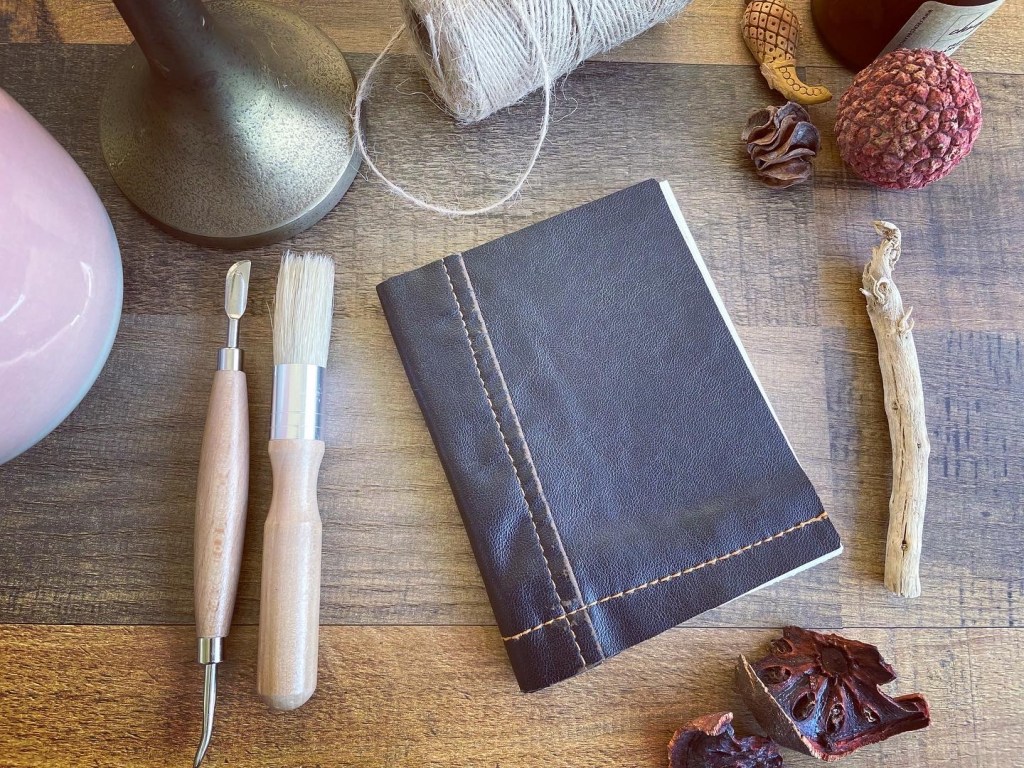
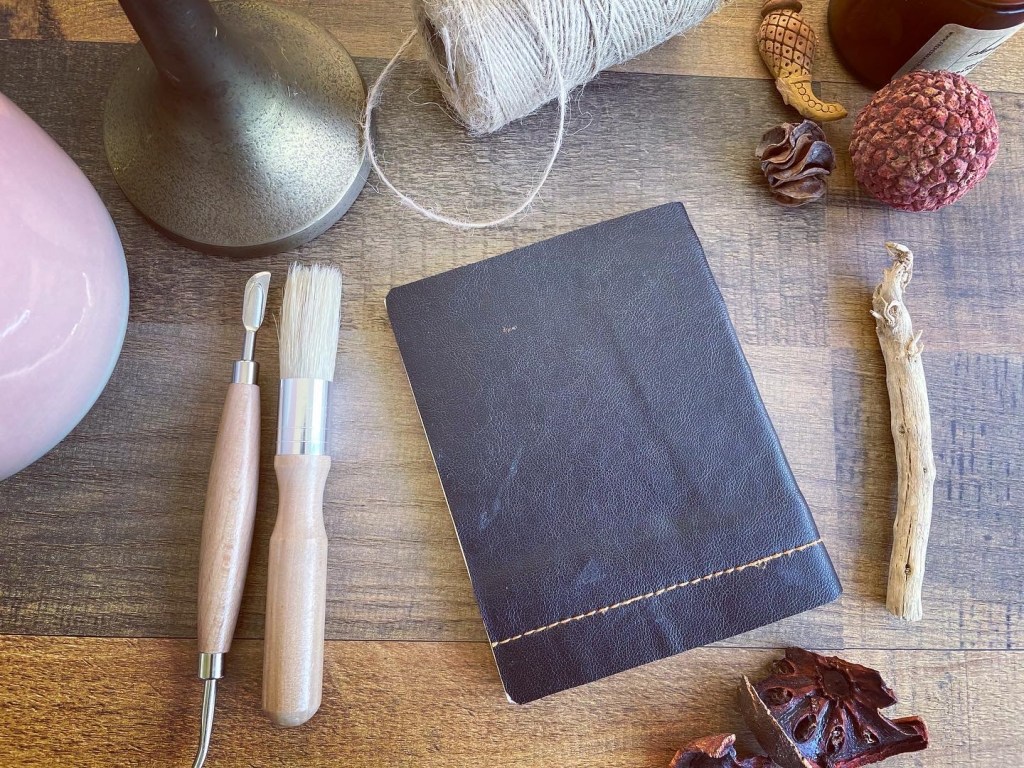
6. Next, find a piece of leather to cover your journal. For soft bound leather journals, using a thick piece of leather is generally better, as it provides a firmer cover while retaining the flexibility of a soft bound binding. I once tried a thin piece of leather and I did not like the feel of the final product. Of course, a lot of this is up to personal taste too.
For example – this is a soft bound journal using thin leather. It works, but thick leather feels much better!
7. To cover the journal, follow the instructions in this video from 10:00 till the end. The video does a great job of describing where to put the glue, where not to put the glue, and how to trim the leather.
8. Let your journal dry overnight.
Et voila! Your soft bound leather notebook is ready! I love this form of binding as it opens easily, is super nice to write in, is not very hard to make, and the leather gives the diary a beautiful finish. If you use good quality leather, it will further acquire a patina with use and only look better with age.
Once you’ve got the hang of this binding method, you can experiment with the type of leather you use, the paper, the size of the journal, the thickness of the journal, and how you decorate your leather, to continue to add variety to your craft. It’s super convenient and a beautiful way to make a book!
Discover more from Sonali Mangal
Subscribe to get the latest posts sent to your email.
Share this:

Categories: Book binding, Creativity, Idea journal, Inspiration, Make stuff

3 replies »