
First of all – what is a headband and why should you add a headband to your journal?
A headband, also called an “endband”, is that thin, contrast-y colorful strip that you so often see on the insides of books. See those strips on the spine in this photo?

Wikipedia describes a headband as follows:
“An endband is a part of a book, most often found with hardcover bindings, that consists of a small cord or strip of material affixed near the spine to provide structural reinforcement and sometimes decorative effect. An endband along the top edge of the book (as a book is standing upright) is called a headband, and one along the bottom edge is called a tailband.
An endband, more so the headband, helps to resist the strain placed on the book when shelved upright with the spine facing outward, especially as it is common to pull a book out by hooking a finger over the top edge of the spine. Endbands were traditionally made from small pieces of vellum, catgut, or cord wrapped or braided with silk; though today they are separately manufactured ribbons. The endband is tightly sewn to the sections of the book where it can support the weight of the pages. When endbands are used for decorative purposes they may only be glued in place rather than sewn, though at a loss of reinforcing strength.”
Wikipedia
I find that headbands are great to add a little extra detail to your spine. If you want to add a headband to your book, you can of course buy some readymade ones on Etsy or other websites – there are all kinds of headbands available for sale. But, if you like, you can also make your own headbands – they’re super easy to make.
Here’s all that you need:
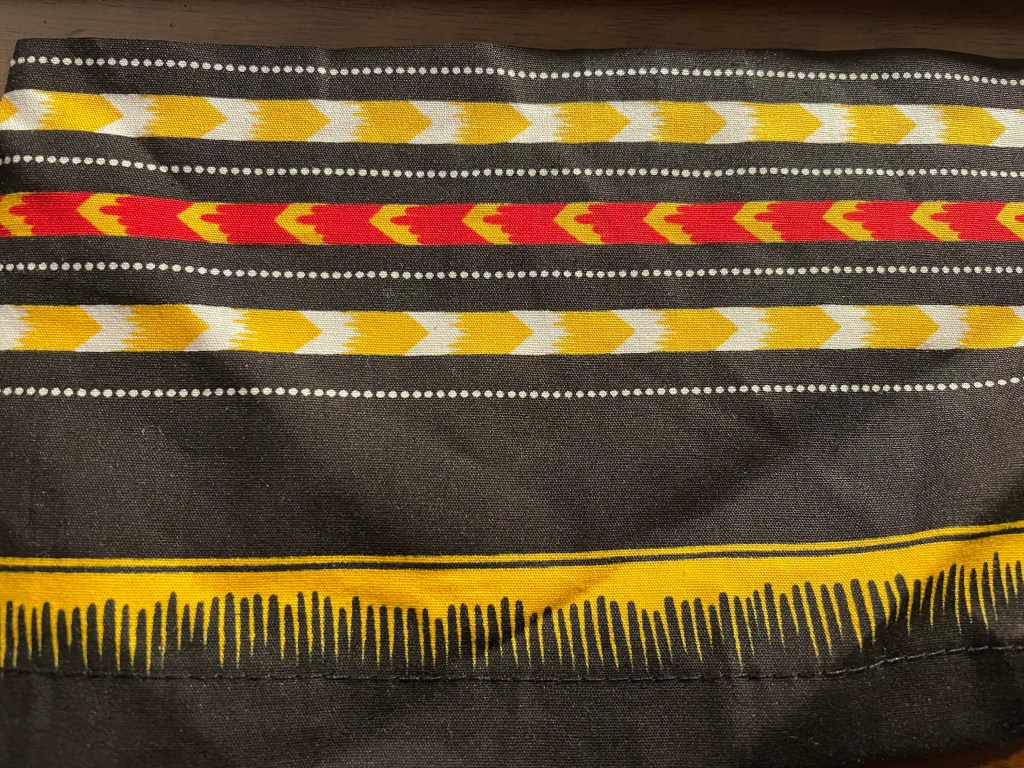
- A piece of fabric that will be visible as the “headband” on your book. You can choose any type of fabric you like. Personally speaking, something that contrasts well against your cover and the paper can look nice and add that little extra detail to your book.
- Cord – this is what forms the inside of your headband. However, I don’t really have cord so I simply used my waxed linen thread that I use for bookbinding, and looped it around a few times to get my desired thickness. I’m pretty sure a thick jute string would work well too.
- Glue – your standard edition bookbinding glue would work
- Scissors
Here’s how you make your headband:
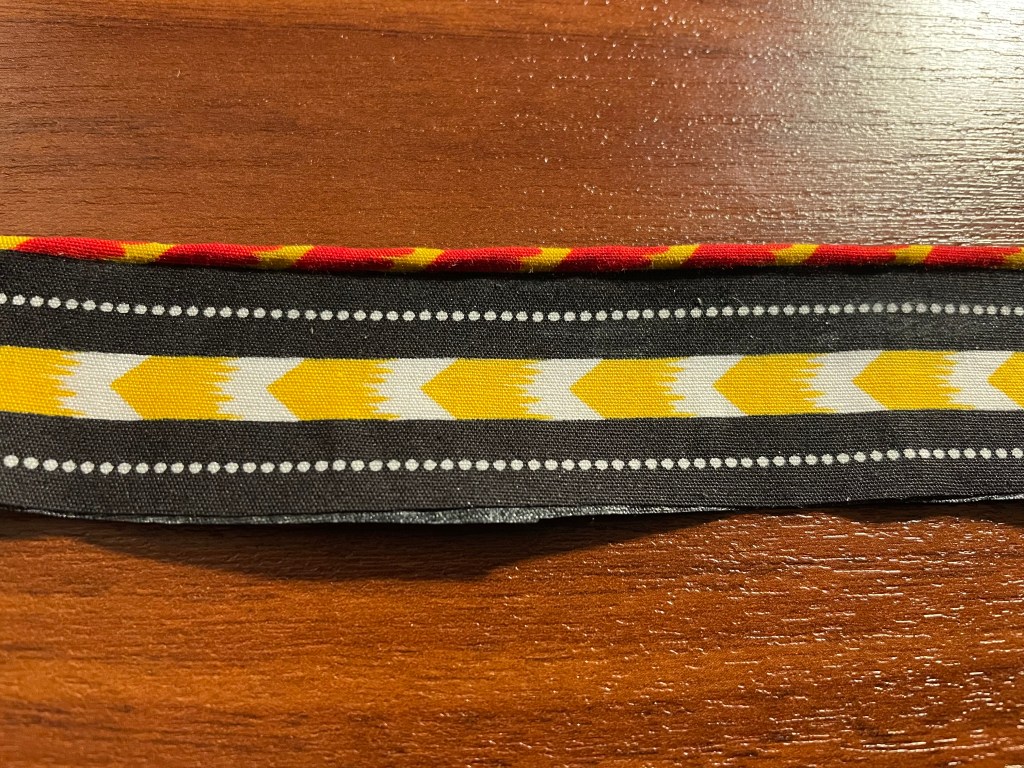
Step 1: Cut a small piece of fabric – this will form the outside of your headband. A few inches in length and width are sufficient. Say 4 inches by 2 inches.
Step 2: Cut some waxed linen thread, about as long as twice the length of the fabric you’ve cut. Then, fold it into half and twist the thread as much as you can, to form a tight cord.

Step 3: Apply glue on the fabric, put the twisted thread inside, and fold the fabric on top of the thread. You want to end up with something that look like this. Leave this out to dry.
Step 4: You now have your own headband strip! Cut out two pieces for the two ends of your book. Cut them so that they’re a bit wider than the spine of the book you want to use them for. Glue the pieces on either side of the spine, so that a little extra is sticking out on each side of the spine. Leave out to dry.
Step 5: Once dry, snip the excess on each side of the spine so that the headbands align exactly with the sides of the spine.
You can also watch this video from 3:42 – 6:42 to watch the headband process in detail.
Et voila! You’re done! 🙂
This is a recent journal I made with the headband on the spine. There’s so much scope for playing around with this, once you know how to make these on your own! You can play with the colors, the fabric, the thickness….:) Enjoy!

Discover more from Sonali Mangal
Subscribe to get the latest posts sent to your email.
Share this:

Categories: Book binding, Creativity, Idea journal, Make stuff

1 reply »